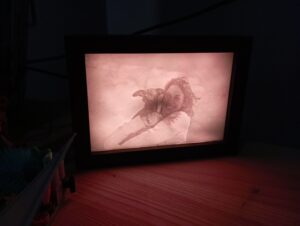
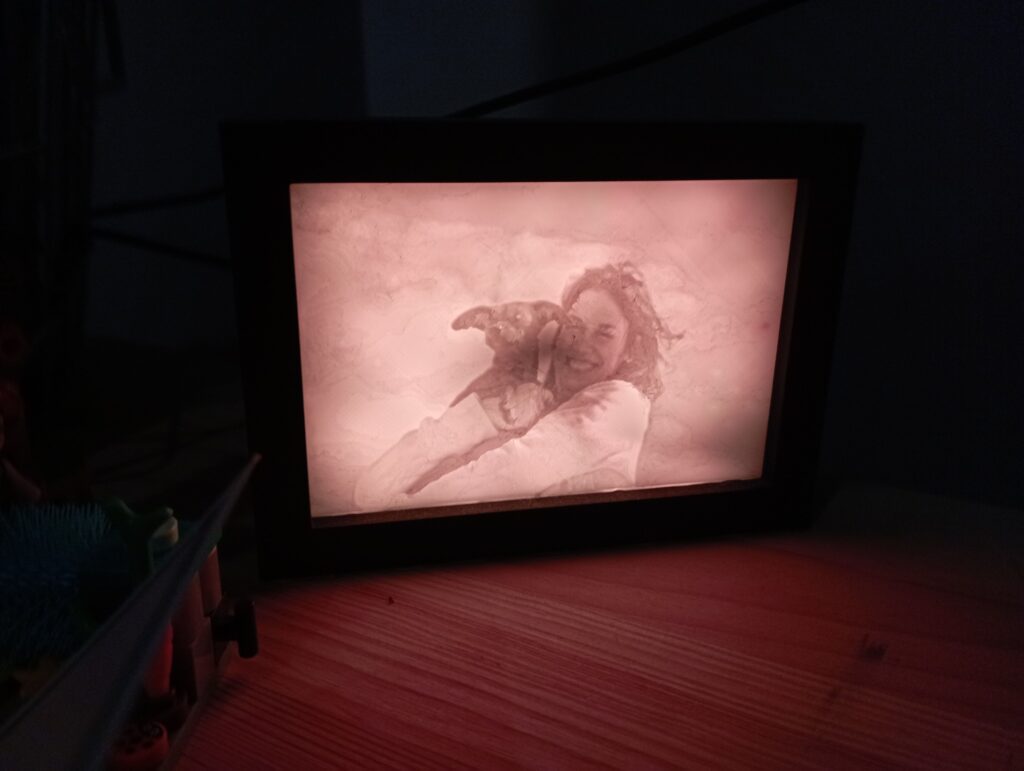
A lithophane is a beautifully crafted, thin plaque made from a translucent material. It is molded with varying thicknesses, allowing light to pass through in different intensities. This variance in thickness creates a stunning image when illuminated from behind, bringing your photos or designs to life in a unique and captivating way.

The Design
For my lithophane, I used the free online tool ItsLitho, which is great for customizing and generating lithophanes from photos. I opted for a final image size of 150 mm in width and 112.5 mm in height, a perfect balance between detail and display size. Once I was satisfied with the design, I sent it to my Bambu Lab P1S 3D printer to bring the lithophane to life with precision and clarity.
To house the lithophane, I designed a custom frame using OnShape, a powerful CAD software that allowed me to create a snug, tailored fit for my lithophane. The frame is designed with an internal edge, which holds the lithophane securely from the inside and provides a slight depth for a more polished, professional look. This gives the entire piece a more elegant appearance when illuminated.
You can find the frame design here.
Integrating Lighting with FastLED
To illuminate the lithophane, I created a 10 mm wide groove along the inner perimeter of the frame, designed to accommodate a FastLED strip. This provides an even and vibrant backlight that enhances the details of the image, making the varying shades and depth of the lithophane truly stand out. The FastLED library is perfect for controlling the LED strip, allowing for custom animations, brightness adjustments, and even color effects.
Adding Arduino for Control
On the back piece of the frame, I designed a dedicated compartment to fit an Arduino Nano board. This compact but powerful microcontroller serves as the brains of the operation, controlling the LED strip and enabling customization of lighting patterns and effects. I also included a 5 mm hole on the side of the frame, perfectly sized for a USB power cable, making it easy to power the Arduino and the LED strip without compromising the sleek look of the frame.
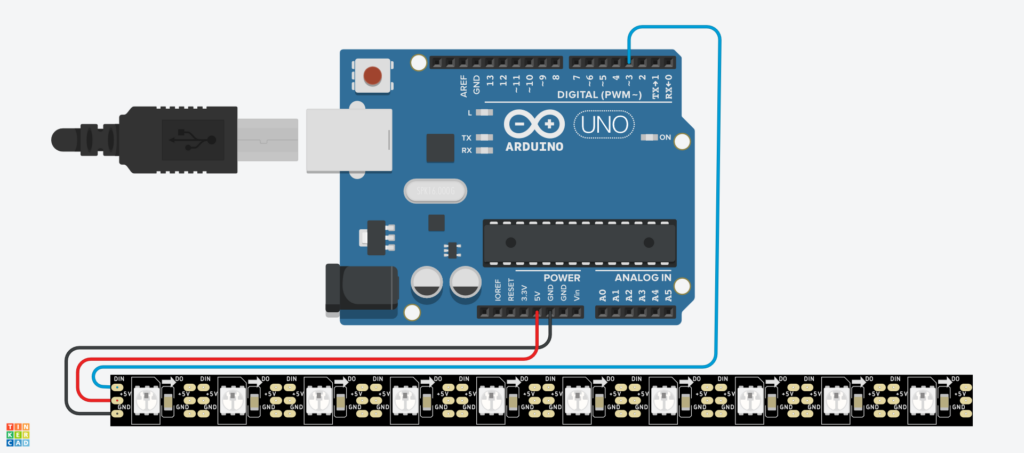
You can find the wiring schema below, and the code as well.

					#include <FastLED.h>

// Define the number of LEDs in your strip
#define NUM_LEDS 46 // Adjust this based on your strip length
#define DATA_PIN 3   // Data pin connected to D3

CRGB leds[NUM_LEDS];

void setup() {
  FastLED.addLeds<WS2812B, DATA_PIN, GRB>(leds, NUM_LEDS);
  setWarmWhite();
}

void loop() {
  // Nothing to do in loop for constant warm white
}

// Function to set all LEDs to warm white
void setWarmWhite() {
  for(int i = 0; i < NUM_LEDS; i++) {
    leds[i] = CRGB(255, 150, 50);  // Adjust RGB values for a warmer tone
  }
  FastLED.show();
}


